[Flutter/Decoding Flutter] 핫 리로드(Hot reload)
최근 업데이트 날짜:
Decoding Flutter 유튜브 영상
핫 리로드란?
핫 리로드는 Flutter가 제공하는 정말 유용한 기능 중 하나이다. 사실 제일 마음에 드는 부분을 꼽으라면 핫 리로드를 선택할 정도로 유용하다고 생각한다.
핫 리로드란 어플이 실행되고 있는 상태에서 어플의 상태를 유지하면서 코드의 변경 사항을 적용시켜주는 기능이다.
핫 리로드 대한 Flutter의 공식 문서를 이 게시글에 한국어로 정리해봤다. 필자가 궁금해서 개인적으로 정리한 글이라 부족하지만, 핫 리로드에 대해 더 알고 싶은 다른 분들에게도 도움이 되었으면 좋겠다.
그렇다면 핫 리로드는 어떠한 방식으로 이루어지는 걸까?
핫 리로드는 Dart 가상 머신에 들어간 소스 코드를 업데이트하면서 시작한다. 그 후 위젯 트리에서 루트 위젯(최상단에 위치하는 위젯)부터 시작하여 모든 위젯의 build() 메소드를 재실행한다.
이제 핫 리로드를 직접 사용해보자.
import 'package:flutter/material.dart';

void main() => runApp(MyApp());

class MyApp extends StatelessWidget {
  @override
  Widget build(BuildContext context) {
    return MaterialApp(home: MyApp());
  }
}

class MyHomePage extends StatefulWidget {
  @override
  _MyHomePageState createState() => _MyHomePageState();
}

class _MyHomePageState extends State<MyHomePage> {
  @override
  Widget build(BuildContext context) {
    return Scaffold(
      appBar: AppBar(title: Text("Hello, World!")),
      body: Center(
        child: Column(
          mainAxisAlignment: MainAxisAlignment.center,
          children: [
            FlutterLogo(size: 100),
            FlutterLogo(size: 100),
          ],
        ),
      ),
    );
  }
}
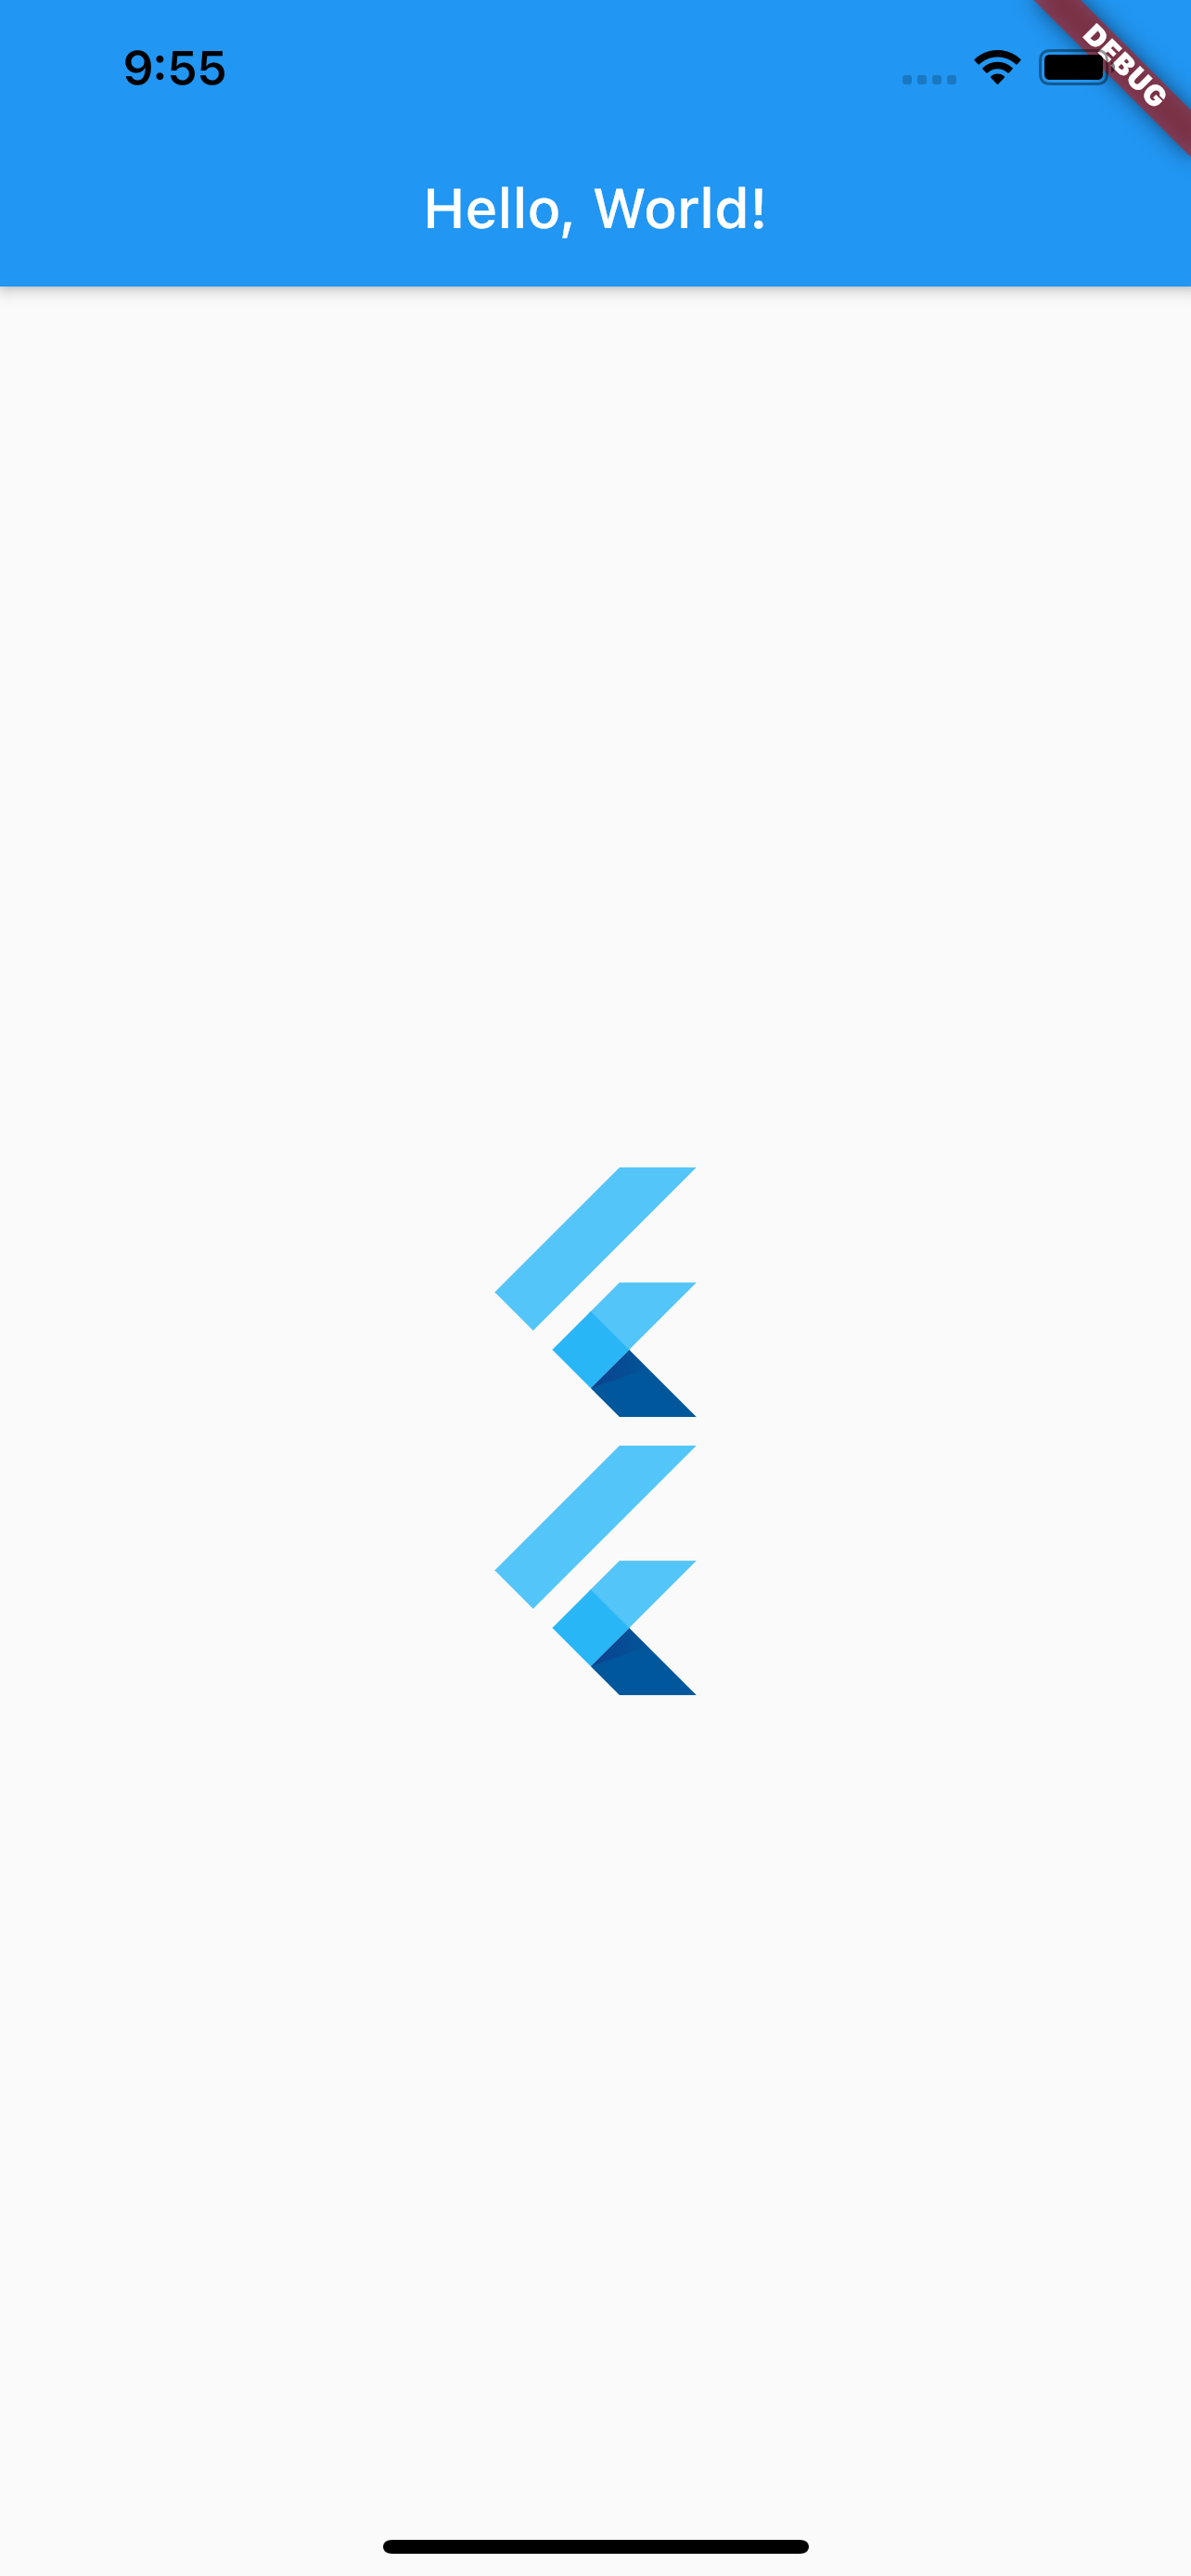
위와 코드를 실행하면 아래 사진과 같은 화면이 보일 것이다.

그렇다면 어플을 실행하고 있는 상태에서 AppBar의 title을 “Hello, Flutter!”로 설정하고, Column을 Row로 바꿔보자.
class _MyHomePageState extends State<MyHomePage> {
  @override
  Widget build(BuildContext context) {
    return Scaffold(
      appBar: AppBar(title: Text("Hello, Flutter!")),
      body: Center(
        child: Row(
          mainAxisAlignment: MainAxisAlignment.center,
          children: [
            FlutterLogo(size: 100),
            FlutterLogo(size: 100),
          ],
        ),
      ),
    );
  }
}
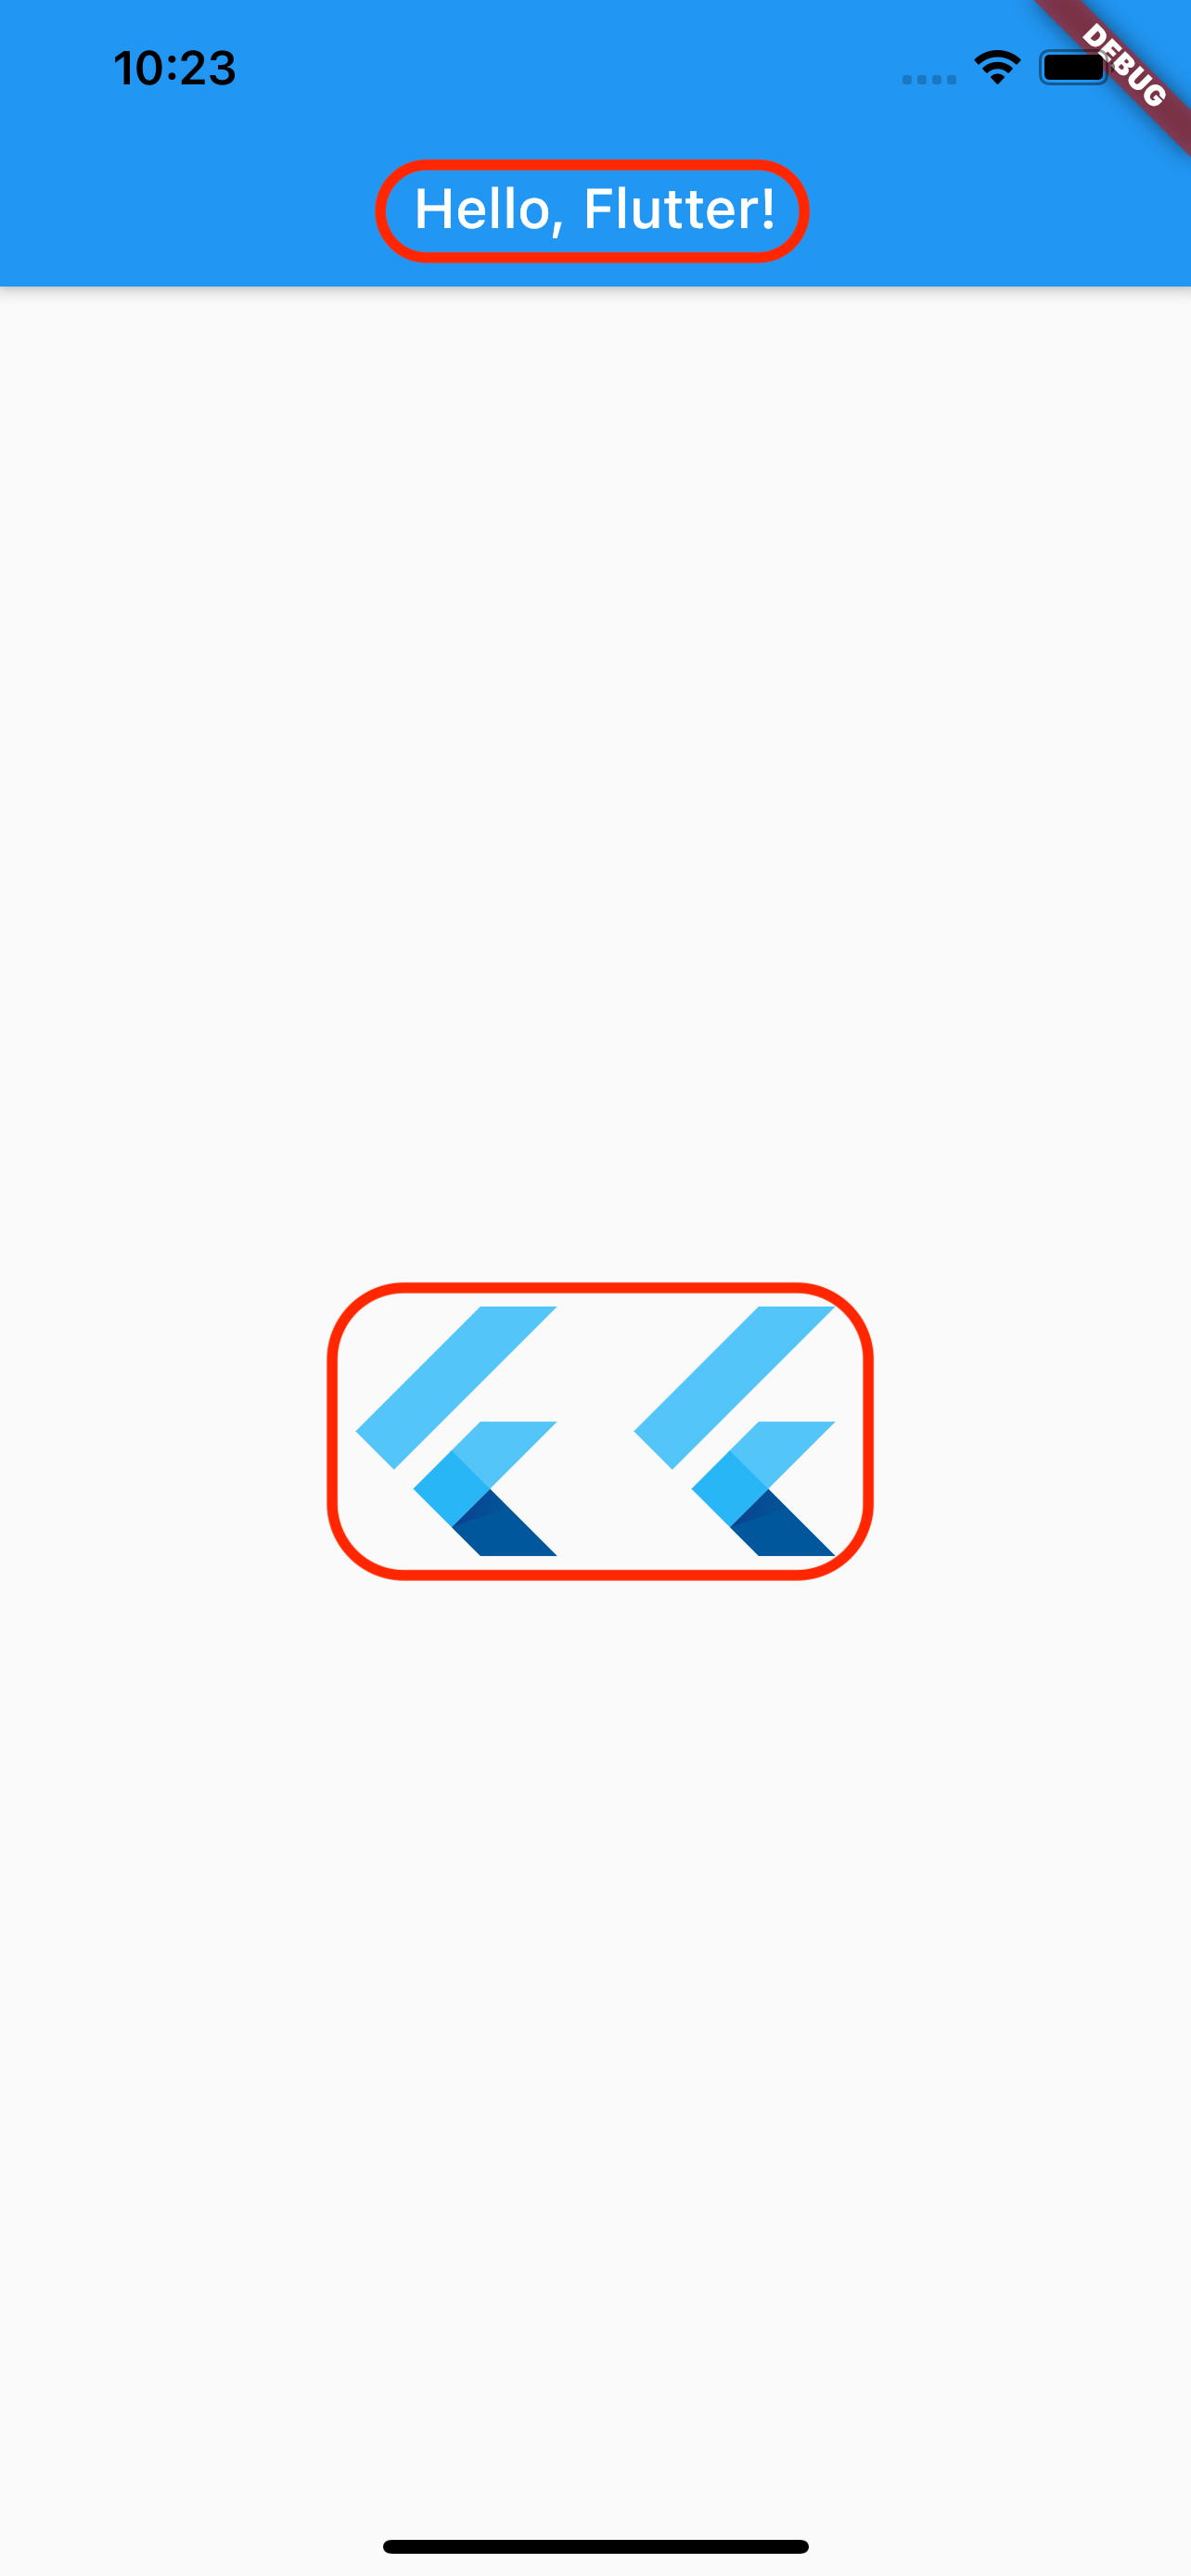
그리고 나서 핫 리로드를 해주면 아래 사진처럼 변경 사항들이 어플에 바로 적용되는 것을 확인할 수 있다.

이번엔 MyApp을 MyOtherApp으로 변경해보자.
void main() => runApp(MyOtherApp());
class MyOtherApp extends StatelessWidget {
  @override
  Widget build(BuildContext context) {
    return MaterialApp(home: MyOtherPage());
  }
}

class MyOtherPage extends StatefulWidget {
  @override
  _MyOtherPageState createState() => _MyOtherPageState();
}

class _MyOtherPageState extends State<MyOtherPage> {
  @override
  Widget build(BuildContext context) {
    return Scaffold(
      backgroundColor: Colors.black,
      body: Center(
        child: Text("Hello, Hot Reload.", style: TextStyle(color: Colors.white, fontSize: 30)),
      ),
    );
  }
}
이제 핫 리로드를 실행하면 MyApp 대신 MyOtherApp이 보일까?

그렇지 않다. 화면에는 그대로 MyApp이 보인다. 이는 MyApp이 루트 위젯이기 때문이다. 위에서 언급했듯이, 핫 리로드는 루트 위젯부터 시작해서 아래로 내려가며 각 위젯의 build() 메소드를 재실행한다. 따라서 핫 리로드를 한다고 해도 루트 위젯인 MyApp의 build() 메소드가 재실행되기 때문에 화면은 변하지 않는다.
MyOtherApp을 화면에 보이게 하기 위해선 루트 위젯보다 상위의 위치하는 main() 메소드나 runApp() 메소드를 재실행 하면 된다. 이를 위해서는 핫 리로드가 아니라 아예 어플을 재실행(restart) 해야한다.
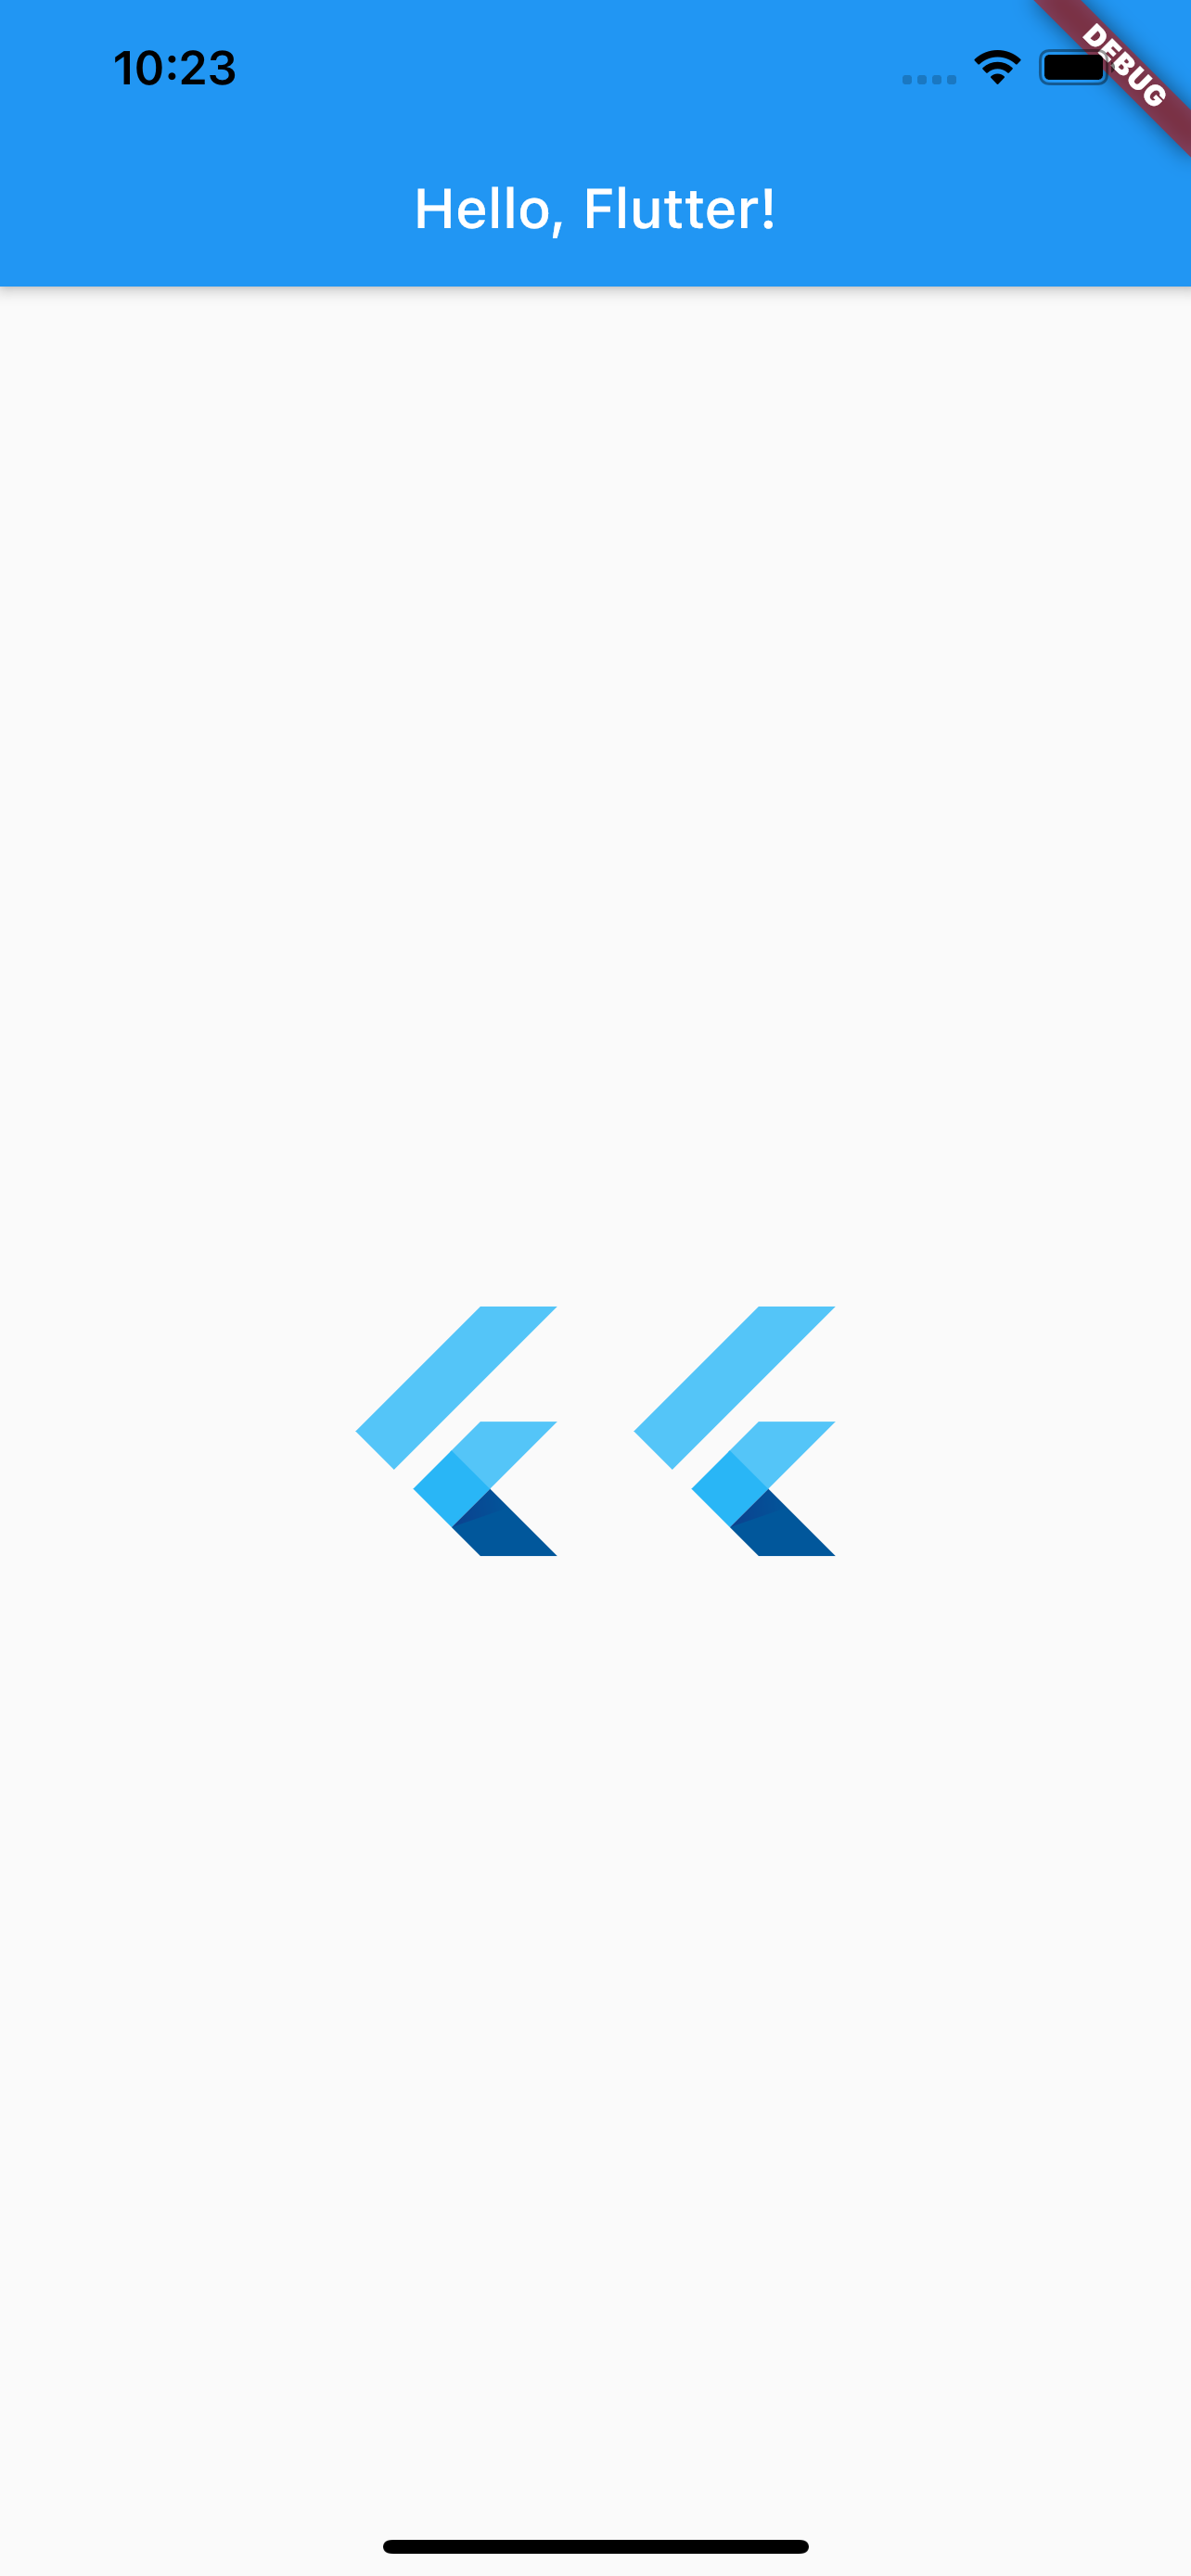
어플을 재실행하면 아래 사진처럼 MyOtherApp이 화면에 보이는 것을 확인할 수 있다.

build() 메소드 외부에서 변경사항이 있을 때는 어떨까? 핫 리로드는 각 위젯의 build() 메소드만 재실행하기 때문에 당연히 build() 메소드 외부의 변경사항은 적용이 되지 않는다. Stateful 위젯에서 사용되는 initState() 메소드나 dispose() 메소드 안에 변경사항이 있다고 하더라도 핫 리로드로 이를 적용시킬 수 없다는 것을 의미한다. 이런 변경사항들 또한 어플을 재실행 해야한다.
마지막으로 static 필드를 새로 추가하거나 변경하는 상황을 생각해보자. 우선 다시 MyOtherApp을 MyApp으로 변경해주고 아래와 같이 AppBar의 title을 static 변수로 선언한다.
class _MyHomePageState extends State<MyHomePage> {
  static const title = "Hello, Flutter!";

  @override
  Widget build(BuildContext context) {
    return Scaffold(
      appBar: AppBar(title: Text(title)),
      body: Center(
        child: Row(
          mainAxisAlignment: MainAxisAlignment.center,
          children: [
            FlutterLogo(size: 100),
            FlutterLogo(size: 100),
          ],
        ),
      ),
    );
  }
}
제목은 이전과 똑같기 때문에 화면도 변화가 없다. 이 상태에서 title을 “Hello, Dart!”로 변경해보자.
static const title = "Hello, Dart!";
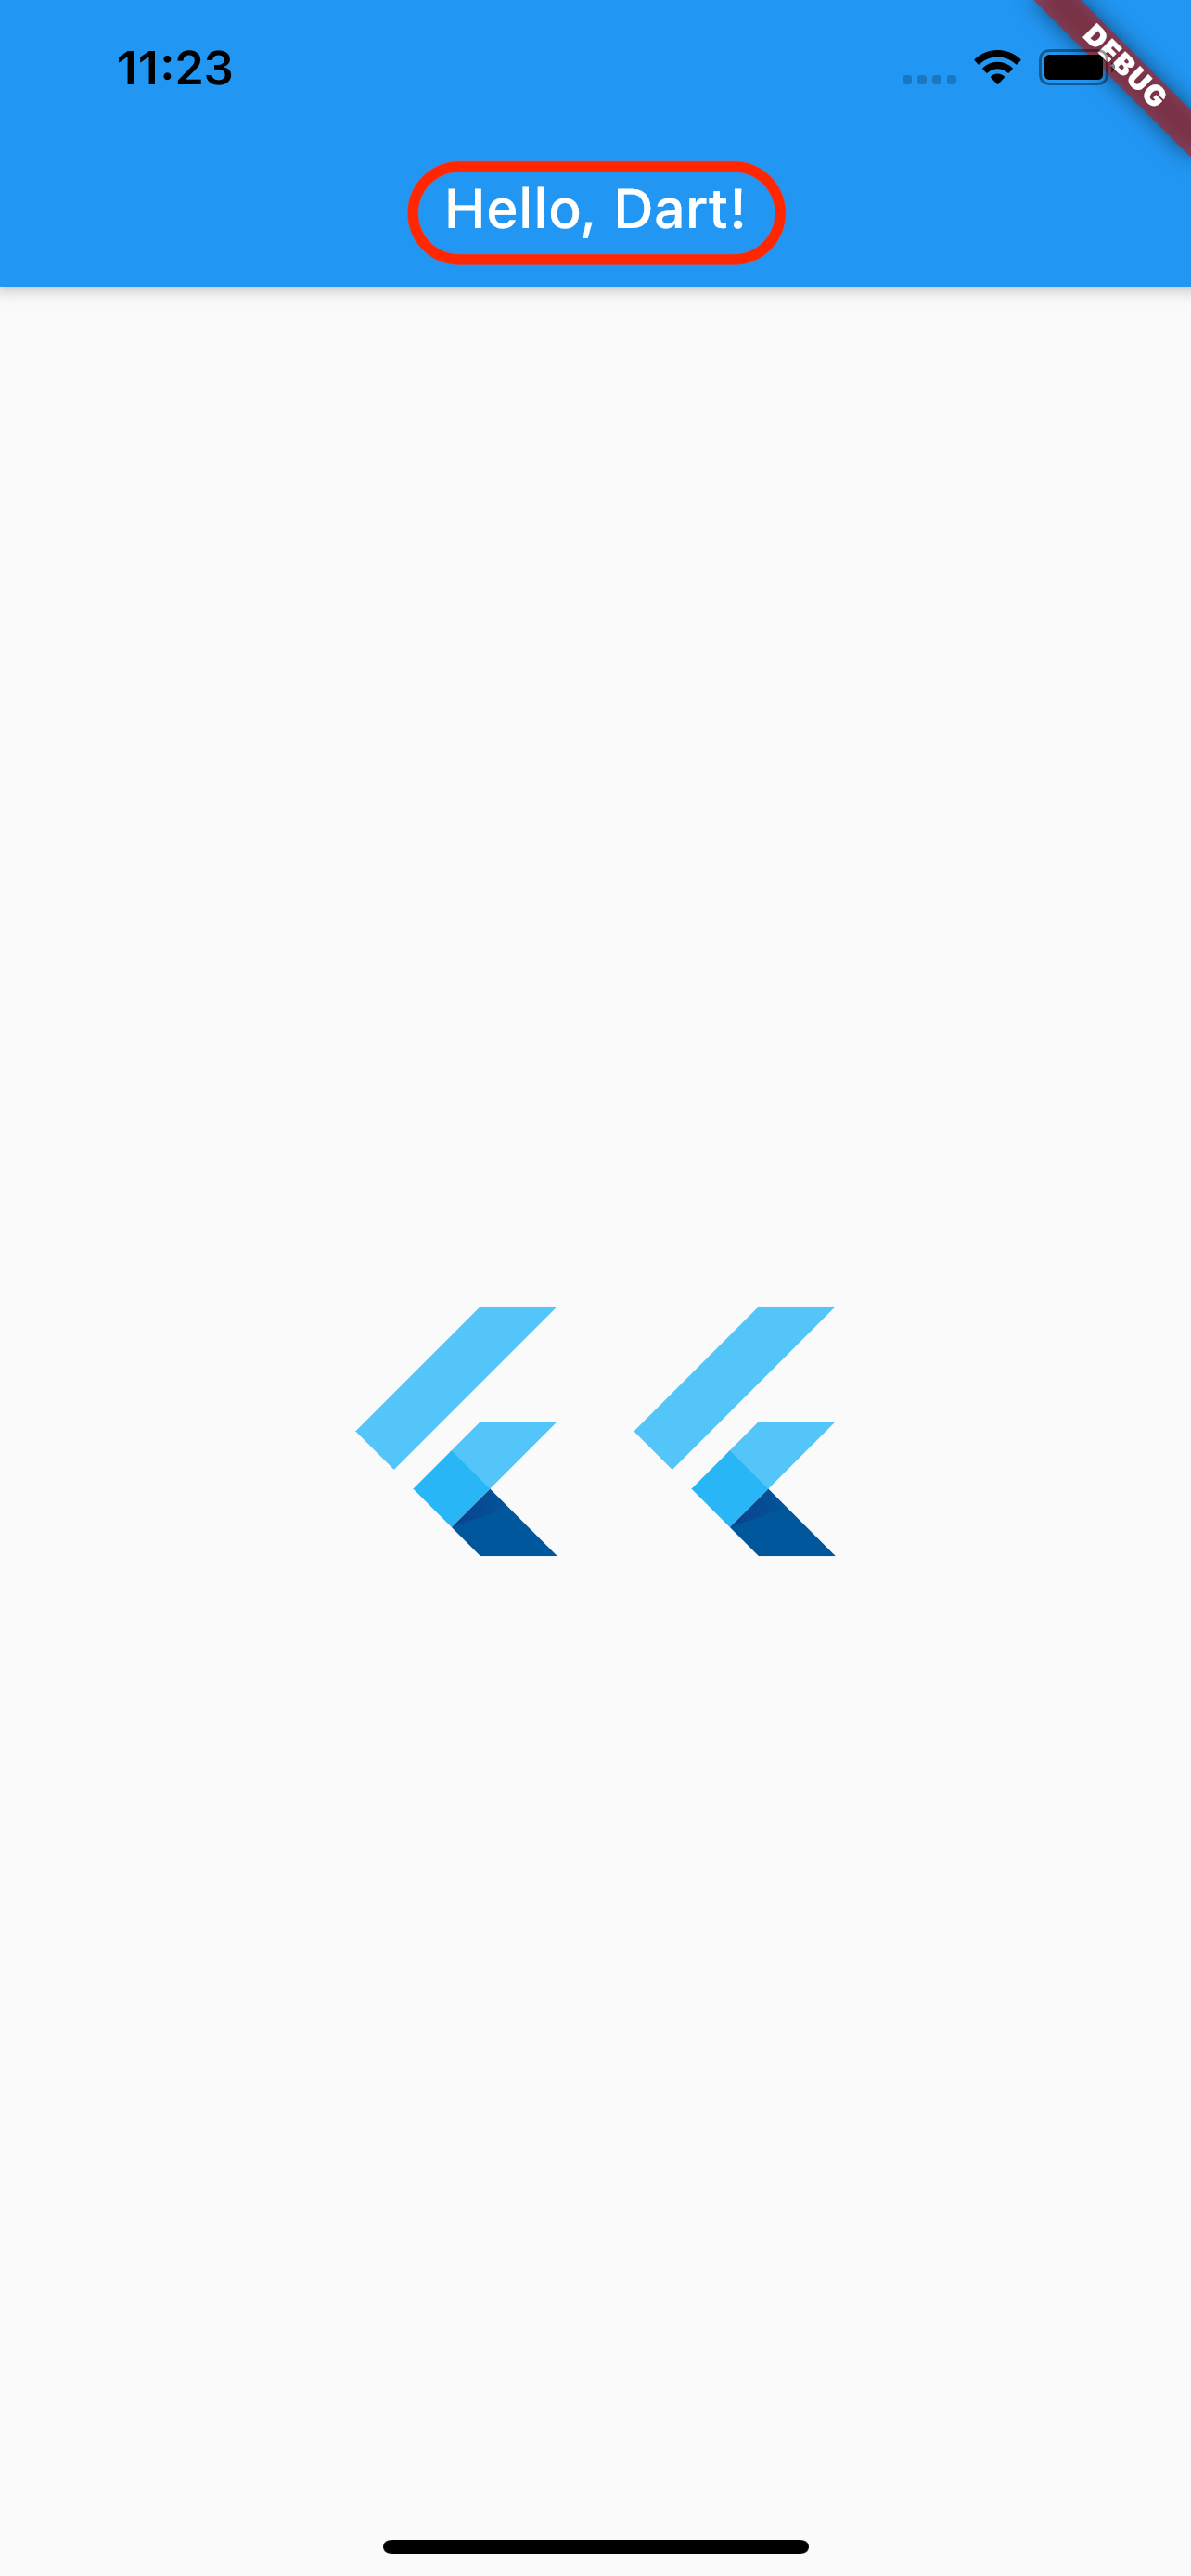
이제 핫 리로드를 하면 타이틀이 변화할까?

타이틀이 변경되지 않았다. 왜 그럴까? 위에서 언급햇듯이, 핫 리로드는 어플의 상태를 유지한 채로 변경사항을 적용한다. static 필드는 상태에 해당하기 때문에 핫 리로드를 해도 업데이트 되지 않는다. static 필드를 업데이트 하기 위해서는 이전 상황들과 마찬가지로 어플을 재실행 해야한다.


댓글남기기